
Tepte.com


Dealing with a Leaking Toilet Tank: A Comprehensive Guide
A leaking toilet tank can be a persistent and bothersome issue that not only wastes water but also drives up your utility bills. In this comprehensive guide, we'll delve into the various reasons why your toilet tank might be leaking and provide step-by-step instructions on how to identify, diagnose, and fix the problem. This guide will empower you to take control of the situation and save both water and money in the process.
Understanding the Anatomy of a Toilet Tank
Before delving into the troubleshooting and repair process, let's familiarize ourselves with the key components of a typical toilet tank:
Fill Valve: This device regulates the water level in the tank after each flush.
Flush Valve: It controls the release of water from the tank to the bowl during a flush.
Flapper: The flapper is a rubber seal that prevents water from flowing into the bowl until the flush is initiated.
Overflow Tube: This tube prevents overfilling by directing excess water into the bowl.
Tank-to-Bowl Gasket: A gasket seals the connection between the tank and the bowl.
Bolts and Nuts: These secure the tank to the bowl.
Identifying the Source of the Leak
To effectively address a leaking toilet tank, you first need to determine the source of the problem. Here are the common areas to investigate:
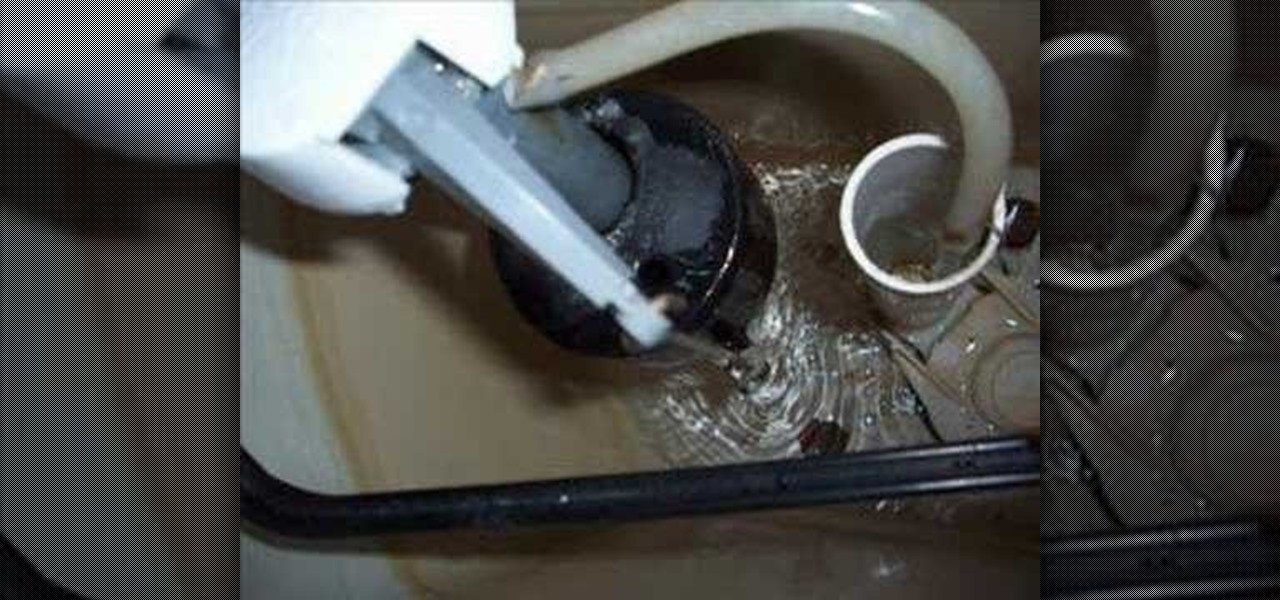
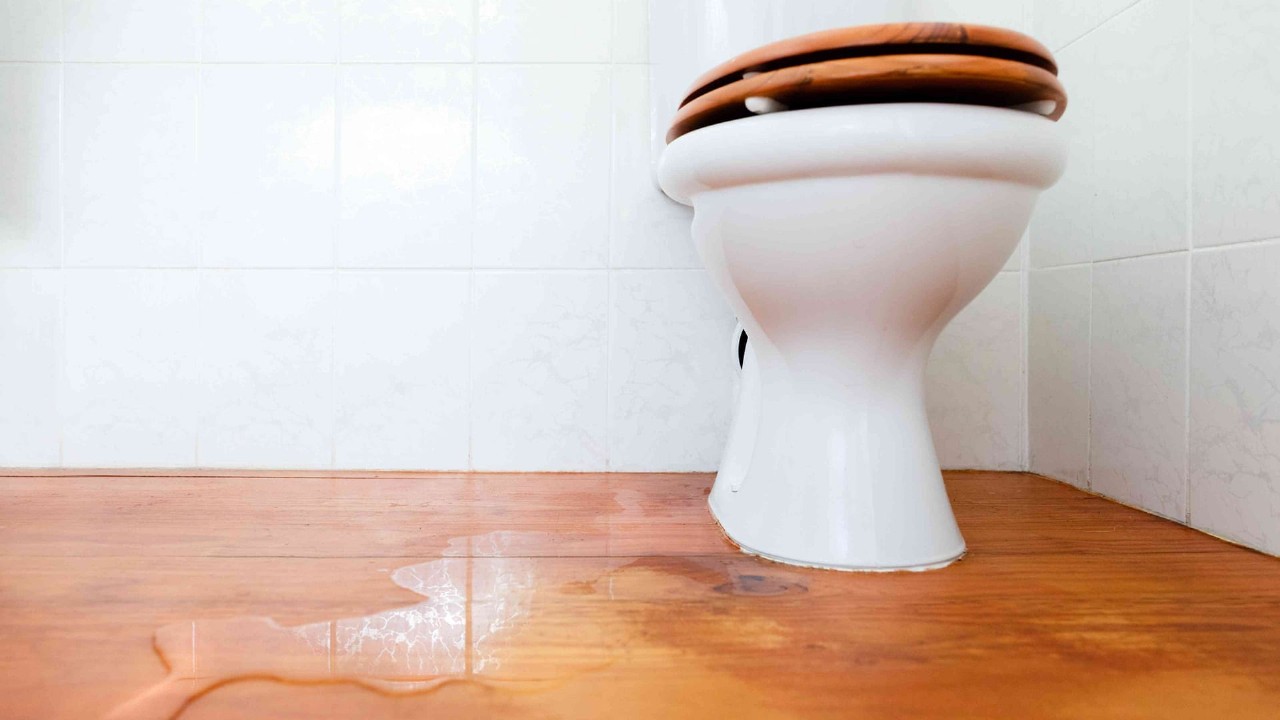
Leaking at the Base: If you notice water pooling around the base of the toilet, it's likely due to a faulty wax ring or loose bolts securing the toilet to the floor.
Leaking from the Supply Line: Check for leaks around the supply line connection at the base of the tank.
Leaking from the Tank: The tank itself may have cracks or damage that are causing the leak.
Leaking from the Flush Valve: A damaged flush valve or flapper can result in water continuously flowing from the tank to the bowl.
Condensation: Sometimes, what appears to be a leak is simply condensation on the exterior of the tank. Ensure that this isn't the case before proceeding with repairs.
DIY Troubleshooting and Repair
Tighten Connections: Ensure all nuts and bolts connecting the tank to the bowl and the supply line are snug but not over-tightened to prevent damage.
Inspect the Flapper: Check the flapper for signs of wear or damage. If necessary, replace it with a new one.
Examine the Fill Valve: If water continues to flow into the tank after a flush, the fill valve might be faulty and need replacement.
Check the Flush Valve: Inspect the flush valve for any visible issues. If damaged, a new flush valve assembly may be required.
Inspect the Tank: Carefully examine the tank for cracks or damage. If found, you may need to replace the entire tank.
Wax Ring and Bolts: If the leak is at the base, replace the wax ring and ensure the toilet is properly secured to the floor.
Final Thoughts
A leaking toilet tank can be a nuisance, but with a systematic approach to troubleshooting and repair, you can resolve the issue and prevent water wastage. By understanding the various components of your toilet and taking action to address the source of the leak, you can enjoy a water-efficient and hassle-free bathroom. Remember, if you're unsure or uncomfortable with any DIY repairs, it's always wise to consult a professional plumber for assistance.
Published: Wednesday, October 18, 2023 Viewed 110 times.
tepte.com: Your Questions and Answers Resource with a Wealth of General Knowledge
Are you seeking a one-stop destination for comprehensive knowledge and answers to your burning questions? Look no further than tepte.com! Our platform is your go-to source for a wide range of information, all conveniently presented in an easily accessible question and answer format.
At tepte.com, we pride ourselves on being your reliable knowledge hub. Whether you're curious about technology, science, history, or any other subject under the sun, our extensive General Knowledge (GK) knowledge base has you covered. We've made it our mission to provide you with in-depth insights and facts on an array of topics. Read more
