
Tepte.com


Looking for about inserting pc card hp laptop or learn about inserting pc card hp laptop or discuss about inserting pc card hp laptop or share about inserting pc card hp laptop or ask about inserting pc card hp laptop.
If you own an HP laptop and need to expand its functionality, inserting a PC Card can be a great option. PC Cards, also known as PCMCIA cards, allow you to add features such as additional ports, extra memory, or network connectivity to your laptop. In this guide, we will walk you through the process of inserting a PC Card on an HP laptop.
The first step is to locate the PC Card slot on your HP laptop. The slot is typically located on the side of the laptop or at the front. It is usually covered by a protective plastic flap.
Before inserting the PC Card, make sure it is compatible with your HP laptop and supports the desired feature. Read the card's documentation to ensure compatibility. If needed, install any necessary drivers or software that came with the PC Card.
It is essential to turn off your laptop before inserting or removing any hardware components. Shut down your HP laptop completely and unplug it from any power source to avoid any potential damage to the card or your laptop.
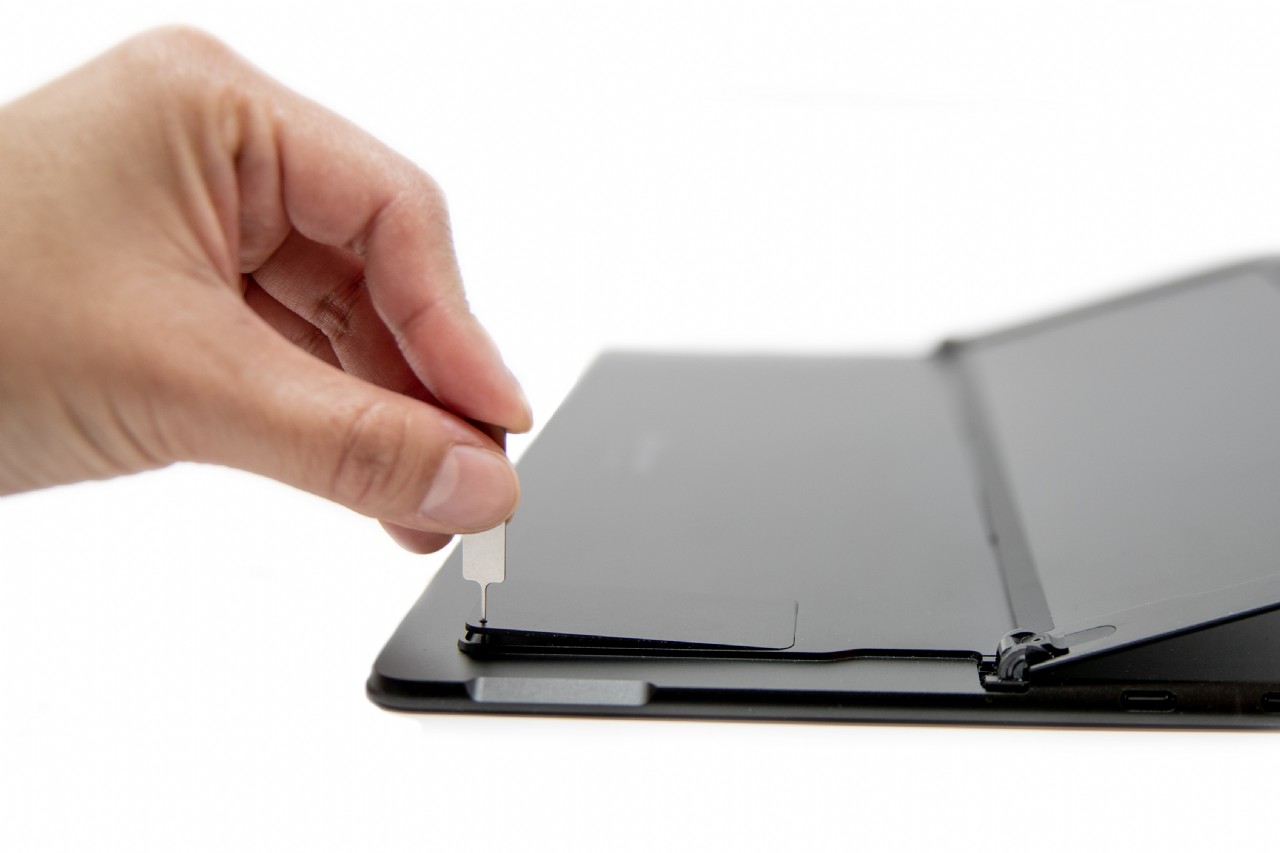
Gently open the protective flap covering the PC Card slot. You might need to use your fingernail or a small tool to do so. Make sure you don't force it open to prevent any breakage.
Align the PC Card with the slot, ensuring the connectors match. Slide the card into the slot, applying gentle pressure until it is fully inserted. Do not force the card as it should fit snugly into the slot without excessive effort.
Once the PC Card is fully inserted, close the protective flap to secure it in place. Make sure it is closed properly to avoid any dust or debris from entering the slot, which could cause connectivity issues.
After properly inserting the PC Card and closing the slot's protective flap, you can now turn on your laptop. Once it boots up, the operating system should detect the new hardware and install any necessary drivers automatically. If prompted, follow any on-screen instructions to complete the installation process.
To ensure the PC Card is working correctly, verify its functionality. Test the added feature, such as connecting a device to the newly inserted port or accessing the network through the added network card. If everything is functioning as expected, congratulations, you have successfully inserted a PC Card on your HP laptop!
Remember, if you no longer require the PC Card or need to remove it, follow the steps in reverse order. Always power down your laptop and remove the card carefully to avoid any potential damage.
By following these steps, you can easily expand the capabilities of your HP laptop by inserting a PC Card. Enjoy the added features and take full advantage of the increased functionality provided by your PC Card!
How to Insert a SIM Card in a Proline Laptop Proline laptops are a popular choice for businesses and students who need a reliable and affordable lapt
Microsoft OLE DB Provider for ODBC Drivers
error '80004005'[MySQL][ODBC 8.0(w) Driver][mysqld-8.0.44]Can't find FULLTEXT index matching the column list
/ara.asp, line 492
