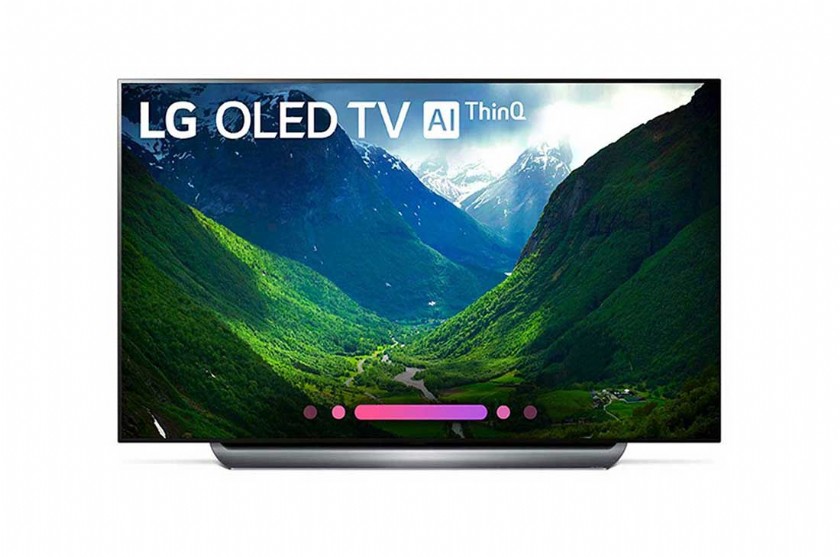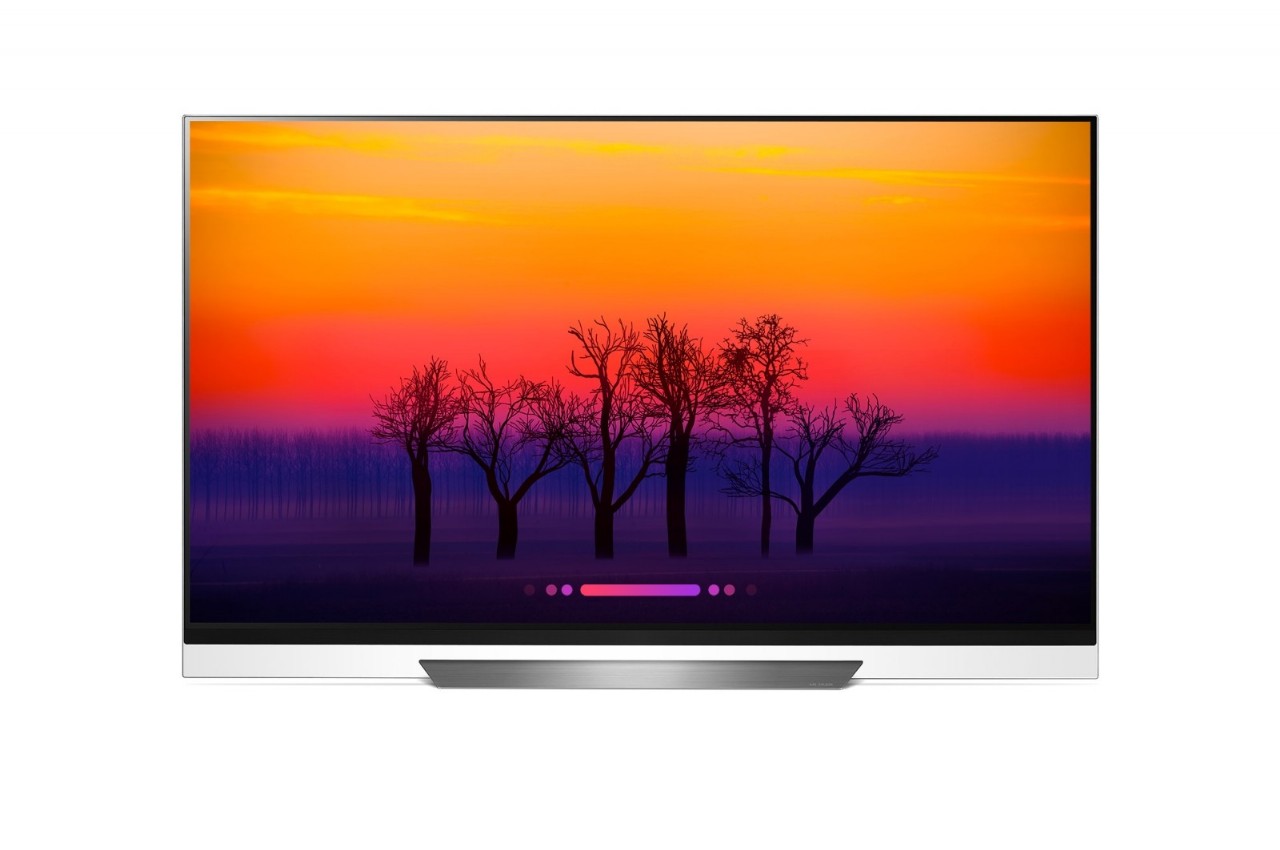

Product specifications may be changed without prior notice due to upgrade of product functions.
Estimated yearly energy consumption indicated on the FTC label is measured in accordance with the Test Procedures for Television Sets (USA only).
The actual energy consumption depends on the usage environment (The content watched, TV settings, etc.).
Television System
ATSC, NTSC-M, 64 & 256 QAM
Program Coverage
VHF 2-13, UHF 14-69, DTV 2-69, CATV 1-135,
CADTV 1-135
External Antenna Impedance
75 Ω
Environment condition
••Operating Temperature
0 °C to 40 °C (32 °F to 104 °F)
••Operating Humidity
Less than 80 %
••Storage Temperature
-20 °C to 60 °C (-4 °F to 140 °F)
••Storage Humidity
Less than 85 %
You can connect various external devices to the TV. Supported external devices are: HD receivers, DVD players, VCRs, audio systems, USB storage devices, PC, gaming devices, and other external devices. For more information on external device’s connection, refer to the manual provided with each device.
••If you record a TV program on a DVD recorder or VCR, make sure to connect the TV signal input cable to the TV through a DVD recorder or VCR. For more information about recording, refer to the manual provided with the connected device.
••The external device connections shown may differ slightly from illustrations in a manual.
••Connect external devices to the TV regardless about the order of the TV port.
••If you connect a gaming device to the TV, use the cable supplied with the gaming device.
••Refer to the external equipment’s manual for operating instructions.
••In PC mode, there may be noise associated with the resolution, vertical pattern, contrast or brightness. If noise is present, change the PC output to another resolution, change the refresh rate to another rate or adjust the brightness and contrast on the Picture menu until the picture is clear. Depending upon the graphics card, some resolution settings may not allow the image to be positioned on the screen properly.
••Some USB Hubs may not work. If a USB device connected through a USB Hub is not detected, connect it directly to the USB port on the TV.
••The TV may be capable of operating without a set-top-box from a multichannel video programming distributor (MVPD).
••When connecting via a wired LAN, it is recommended to use a CAT 7 cable.
Connect an antenna, cable, or cable box to watch TV while referring to the following. The illustrations may differ from the actual items and an RF cable is optional.
••Make sure not to bend the copper wire of the RF cable.
••Use a signal splitter to use 2 TVs or more.
••DTV Audio Supported Codec: MPEG, Dolby Digital
••This TV cannot receive ULTRA HD (3840 x 2160 pixels) broadcasts directly because the related standards have not been confirmed. (Depending upon model)
Other Connections
Connect your TV to external devices. For the best picture and audio quality, connect the external device and the TV with the HDMI cable.
•• > > > General > HDMI ULTRA HD
Deep Color:
-- On : Support 4K @ 60 Hz (4:4:4, 4:2:2, 4:2:0)
-- Off : Support 4K @ 60 Hz 8bit (4:2:0)
••If the device connected to Input Port also supports ULTRA HD Deep Color, your picture may be clearer. However, if the device doesn’t support it, it may not work properly. In that case, connect the device to a different HDMI port or change the TV’s HDMI ULTRA HD Deep Color setting to off.
••HDMI Audio Supported Format: DTS (44.1 kHz /48 kHz), Dolby Digital / Dolby Digital Plus (32 kHz/ 44.1 kHz / 48 kHz), PCM (32 kHz / 44.1 kHz / 48 kHz / 96 kHz / 192 kHz) (Depending on model)

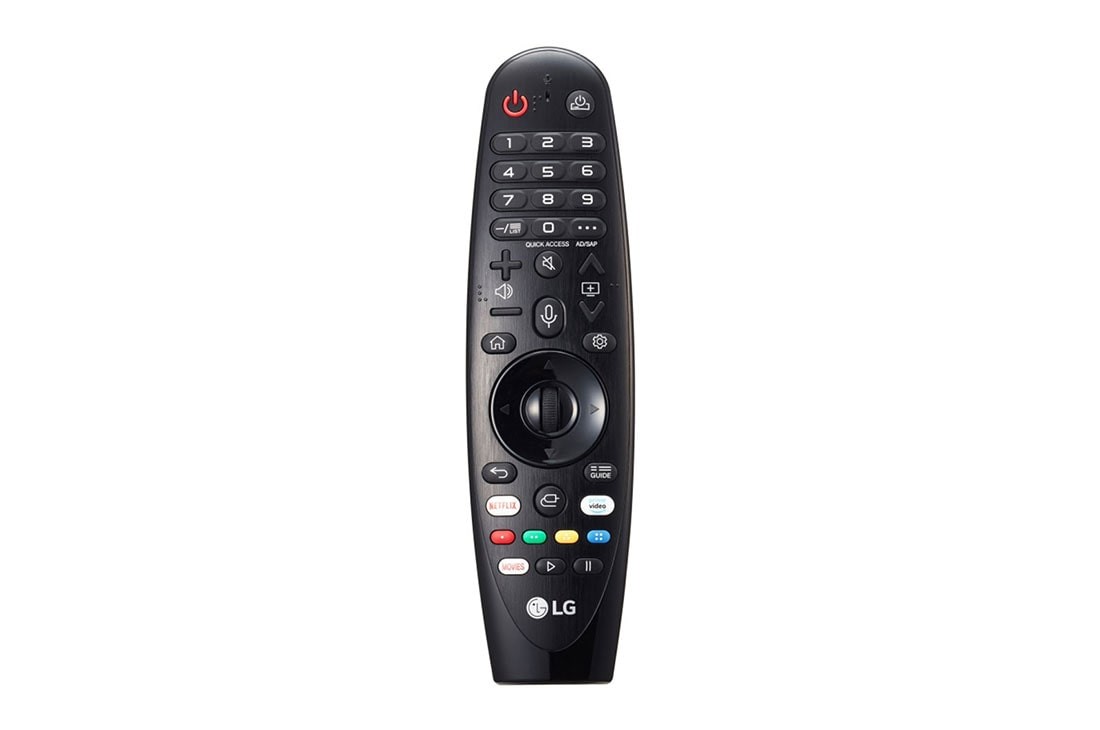
(Some buttons and services may not be provided depending upon models or regions.) When the message Magic remote battery is low.
Change the battery. is displayed, replace the batteries. To install batteries, open the battery cover, replace batteries (1.5 V AA) matching and ends to the label inside the compartment, and close the battery cover. Failure to match the correct polarities of the battery may cause the battery to burst or leak, resulting in fire, personal injury, or ambient pollution. Be sure to point the remote control at the remote control sensor on the TV.
To remove the batteries, perform the installation actions in reverse.
This remote uses infrared light. When in use, it should be pointed in the direction of the TV’s remote sensor.
(Power) Turns the TV on or off.
You can turn your set-top box on or off by adding the set-top box to the universal remote control for your TV.
Number button Enters numbers.
- (Dash) Inserts a dash between numbers such as 2-1 and 2-2.
Accesses the saved channel list.
(Screen Remote) Displays the Screen Remote.
••Accesses the Universal Control Menu in some regions.
* You can access the application or Live TV channel by using the number buttons as registered.
* SAP (Secondary Audio Program) Feature can be enabled by pressing the key.
+ VOL - Adjusts the volume level.
(Mute) Mutes all sounds.
Scrolls through the saved channels.
(Voice recognition) Press the button and speak when the voice display window appears on the TV screen.
••Network connection is required to use the voice recognition function.
* (Search) Shows the search mode.
(Home) Accesses the Home menu.
(Q. Settings) Accesses the quick settings.
••Pressing and holding the (Q. Settings) button displays the All settings menu.
* Shows the previous history.
Press the up, down, left or right button to scroll the menu. If you press buttons while the pointer is in use, the pointer will disappear from the screen and Magic Remote will operate like a general remote control. To display the pointer on the screen again, shake Magic Remote to the left and right.
Wheel (OK) Press the center of the Wheel button to select a menu. You can change channels by using the Wheel button.
Returns to the previous screen.
* Clears all on-screen displays and returns to TV viewing.
Activates or deactivates the subtitles.
Displays the program event according to time scheduler.
Streaming Service buttons Connects to the Video Streaming Service.
(Input) Changes the input source.
••Pressing and holding the (Input) button displays all the lists of external inputs.
, , , These access special functions in some menus.
, , , Control buttons for media contents By zooming in on the selected area, you can view it in full screen.
* Provides content related to the program you are currently watching.
* You can zoom in on the area where the remote control is pointed.
* To use the button, press and hold for more than 3 seconds.
To use the Magic Remote, first pair it with your TV.
1 Put batteries into the Magic Remote and turn the TV on.
2 Point the Magic Remote at your TV and press the Wheel (OK) on the remote control.
••If the TV fails to register the Magic Remote, try again after turning the TV off and back on.
••Press the and (Home) buttons at the same time, for five seconds, to unpair the Magic Remote with your TV.
••Pressing and holding the button will let you cancel and re-register Magic Remote at once.
••It is recommended that an Access Point (AP) be located more than 0.2 m (0.65 ft) away from the TV. If the AP is installed closer than 0.2 m (0.65 ft), the Magic remote control may not perform as expected due to frequency interference.
Published: Tuesday, April 7, 2020 Viewed 61 times.

Askme / 4/7/2020 11:53:51 AM (Original: 1280X850 px)

Askme / 4/7/2020 11:55:34 AM (Original: 1100X730 px)
ESP-enabled visualization in business can streamline data analysis, offering real-time insights for informed decision-making, improving efficiency and effectiveness.
/ ESP-enabled visualization Answers: 0 1430
1430
Learn about common error codes for the GA-990FX-Gaming motherboard and how to troubleshoot and resolve them effectively to ensure optimal performance.
/ GA-990FX-Gaming motherboard error code list Answers: 0 1960
1960
Learn how to connect your Stylo 4 to your TV without relying on internet connectivity for streaming or mirroring content using simple methods and cables.
/ Stylo 4 to TV without internet Answers: 0 1007
1007
Discover simple and effective solutions to resolve Xiaomi SIM card activation issues on your device quickly and efficiently. Don't let technical difficulties stand in your way.
/ Xiaomi SIM card activation issue fix Answers: 0 837
837
Learn how to troubleshoot Xiaomi SIM card configuration problems like No SIM card detected error. Follow these steps to fix the issue and get your SIM card working properly.
/ Xiaomi SIM card configuration problem Answers: 0 837
837
Learn how to replace the motor sensor on your LG washer with our step-by-step guide. No specific tools required, just follow our simple instructions.
/ LG washer motor sensor replacement Answers: 0 1022
1022
Learn about common POST codes on the GA-990FX-Gaming motherboard to troubleshoot booting issues effectively. Understanding these codes can streamline the debugging process.
/ GA-990FX-Gaming motherboard POST codes Answers: 0 673
673
Learn how to reset or recover your forgotten Comcast network password. Understand the steps involved in regaining access to your account.
/ Comcast network password recovery Answers: 0 837
837
Learn how to change or reset your Comcast internet connection password easily with step-by-step instructions and helpful tips. Keep your network secure!
/ Comcast internet connection password Answers: 0 958
958
Learn how to unlock your LG Stylo without an OTG cable by using alternative methods such as Google Find My Device or performing a hard reset.
/ LG Stylo bypass without OTG cable Answers: 0 1024
1024
Learn how to bypass Google verification on your LG Stylo to unlock your device and regain access. Follow simple steps to remove the verification process.
/ LG Stylo Google verification removal Answers: 0 454
454
Learn how to troubleshoot and fix the OE error code on your LG washer. Discover the possible causes and solutions to resolve this issue effectively.
/ LG washer troubleshooting codes Answers: 0 590
590
Learn how to troubleshoot Xiaomi SIM card activation issues on your device. Follow these steps to resolve any problems with your SIM card activation.
/ Troubleshoot Xiaomi SIM card activation Answers: 0 449
449
Learn how to activate a SIM card on your Xiaomi device with these recommended steps to ensure your device functions properly.
/ Xiaomi SIM card activation steps Answers: 0 457
457
Learn how to connect your LG Stylo 4 to your television using an HDMI cable or wireless connection, with simple steps and guidelines provided in this article.
/ Connect Stylo 4 to television Answers: 0 536
536
tepte.com: Your Questions and Answers Resource with a Wealth of General Knowledge
Are you seeking a one-stop destination for comprehensive knowledge and answers to your burning questions? Look no further than tepte.com! Our platform is your go-to source for a wide range of information, all conveniently presented in an easily accessible question and answer format.
At tepte.com, we pride ourselves on being your reliable knowledge hub. Whether you're curious about technology, science, history, or any other subject under the sun, our extensive General Knowledge (GK) knowledge base has you covered. We've made it our mission to provide you with in-depth insights and facts on an array of topics. Read more