
Tepte.com


Looking for about lg g6 root step by step or learn about lg g6 root step by step or discuss about lg g6 root step by step or share about lg g6 root step by step or ask about lg g6 root step by step.
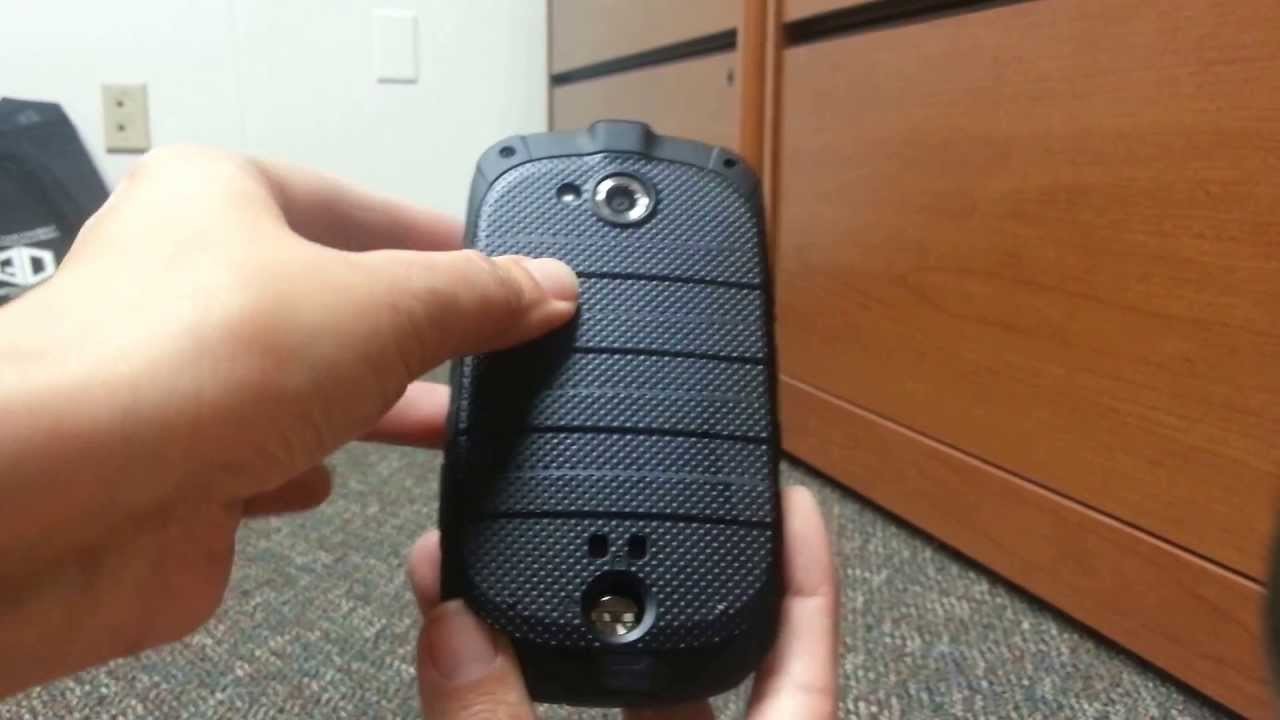
Rooting your LG G6 smartphone can offer you a plethora of features, customization options, and access to various powerful applications. It gives you complete control over your device, allowing you to unlock its full potential. In this step-by-step guide, we will walk you through the process of rooting your LG G6.
Before proceeding with the rooting process, it is crucial to back up all your important data. This includes contacts, photos, videos, and any other files you want to preserve. Rooting carries a certain level of risk, so it is always better to be safe than sorry.
Go to your LG G6's Settings menu and scroll down to find the "About Phone" or "Software Information" option. Tap on it and locate the "Build Number" section. Tap on the build number several times until a message appears stating that you are now a developer.
Now, go back to the main Settings menu and scroll down to find the newly unlocked "Developer Options" section. Open it and toggle on the "USB Debugging" option. This allows your computer to communicate with your LG G6 during the rooting process.
Next, you need to download and install the necessary tools on your computer. These tools include the LG USB Driver, ADB and Fastboot Drivers, as well as the TWRP (TeamWin Recovery Project) image specific to your LG G6 model. Make sure you download the correct files from reliable sources.
Turn off your LG G6 smartphone and then press and hold the Volume Up button. While holding the Volume Up button, connect your LG G6 to your computer using a USB cable. Your device should now boot into Fastboot mode.
Open the command prompt on your computer, navigate to the folder where you downloaded the TWRP recovery image, and execute the following command: fastboot flash recovery twrp.img. Replace "twrp.img" with the actual name of the TWRP recovery image file you downloaded.
Once the TWRP recovery image is successfully flashed, disconnect your LG G6 from the computer. Now, press and hold the Volume Down and Power buttons simultaneously until your device reboots. As soon as the LG logo appears, release the Power button and press it again while still holding the Volume Down button. This will take you into TWRP recovery mode.
Now, in the TWRP recovery menu, tap on the "Install" option and navigate to the folder where you downloaded the SuperSU zip file. Select the file and swipe the slider to flash it. Wait until the process is complete.
After flashing SuperSU, tap on "Reboot System" to reboot your LG G6. The device should now be rooted and ready to unleash its full potential.
Congratulations! You have successfully rooted your LG G6 smartphone. Enjoy the additional features, customizations, and increased control over your device.
Note: Rooting your LG G6 will void the warranty provided by the manufacturer. Proceed at your own risk and make sure you thoroughly understand the process before proceeding.
Changing Kyocera Battery At Home Introduction Kyocera phones are known for their durability and long battery life. However, even the best batteries
 108
108
Audi A1 Oil Change Guide: Step-by-Step Instructions Changing the oil in your Audi A1 is a crucial part of routine maintenance that ensures your engin
125
Clearing BMW CC-ID Fault Codes: A Step-by-Step Guide If you drive a BMW, you might have encountered CC-ID fault codes on your dashboard. These codes
255Microsoft OLE DB Provider for ODBC Drivers
error '80004005'[MySQL][ODBC 8.0(w) Driver][mysqld-8.0.44]Can't find FULLTEXT index matching the column list
/ara.asp, line 492
