
Tepte.com


Ensure the bread maker is turned OFF by pressing and holding the CANCEL button. The bread maker is OFF when the START | PAUSE button surround is no longer red. Remove the power plug from the power outlet. Allow the bread maker and all accessories to cool completely before disassembling and cleaning.
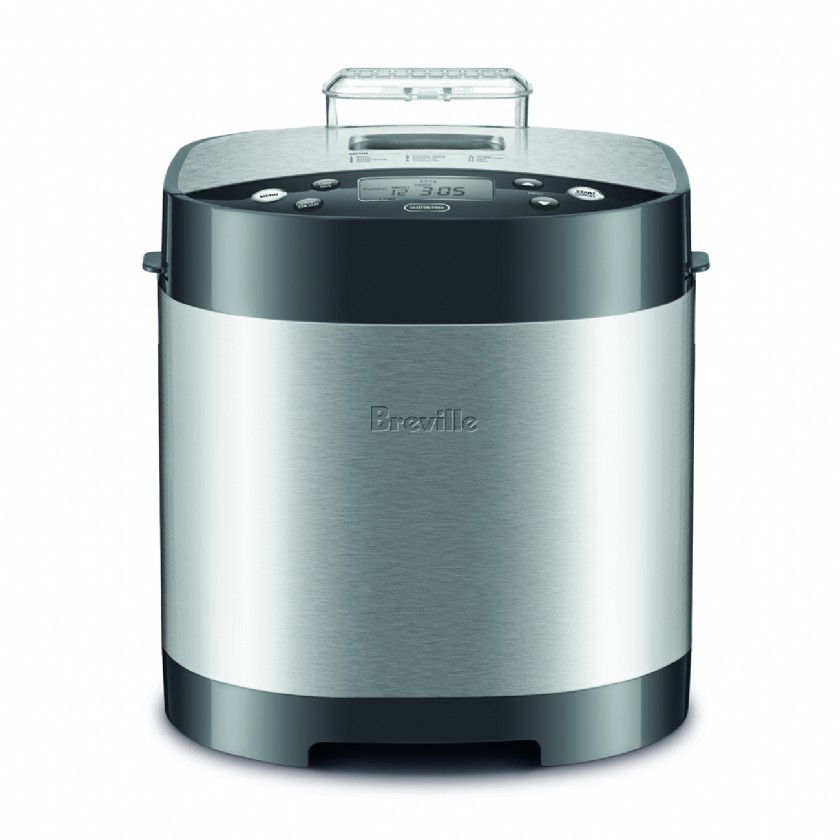
1. Wipe the exterior of the stainless steel housing and the LCD screen with a soft, damp cloth. A non-abrasive liquid cleanser or mild spray solution may be used to avoid build-up of stains. Apply the cleanser to the sponge, not the outer surface or LCD screen, before cleaning. Do not use a dry paper towel or cloth to clean the LCD screen, or use an abrasive cleanser or metal scouring pad to clean any part of the bread maker as these will scratch the surface.
NOTE
Never immerse the stainless steel housing in water or place in the dishwasher. Take care not to allow water or cleaning fluids to seep under the buttons or LCD screen on the control panel.
2. If over-spills such as flour, nuts, raisins etc. occur in the interior baking chamber, carefully remove them using a soft, damp cloth. Use extreme caution when cleaning the heating elements. Ensure the bread maker is completely cool then gently rub a soft, damp sponge or cloth along the length of the heating element. Do not use any type of cleanser or cleaning agent.
3. Let all surfaces dry thoroughly prior to inserting the power plug into a power outlet.
1. For thorough cleaning, the lid can be removed from the stainless steel housing. Lift open the lid completely. Holding the sides of the lid, lift straight upwards. The lid should detach from the hinge. To replace the lid, align the pivot pins on the lid with the pivot points on the hinge.
Wipe the lid, viewing window and Automatic Fruit and Nut Dispenser with a soft, damp sponge. A glass cleaner or mild detergent may be used. Do not use an abrasive cleanser or metal scouring pad as these will scratch the surface.
2. Let all surfaces dry thoroughly prior to inserting the power plug into a power outlet.
1. Half fill the bread pan with warm soapy water. A nonabrasive liquid cleanser or mild spray solution may be used.
Allow to stand for 10-20 minutes.
NOTE
Do not immerse the outside of the bread pan in water as this may interfere with the free movement of the wingnut and drive shaft. Submerge and wash only the interior of the bread pan.
2. Remove the paddle and wash the inside of the bread pan with a soft cloth. Do not use an abrasive cleanser or metal scouring pad as these will scratch the non-stick coating. Ensure there is no baked-on residue or dough on the drive shaft. Rinse thoroughly.
3. Let all surfaces dry thoroughly prior to inserting into the stainless steel housing.
NOTE
−− Some discoloration may appear on and inside the bread pan over time. This is a natural effect caused by moisture and steam and will not affect the bread in any way.
−− The inside of the bread pan is coated with a high quality non-stick coating. As with any non-stick coated surface, do not use abrasive cleansers, metal scouring pads or metal utensils to clean these items as they may damage the finish.
−− Never wash the bread pan in the dishwasher.
1. Wash the collapsible paddle and fixed paddle with warm soapy water and a soft cloth.
2. Ensure there is no baked-on residue in any of the paddle crevices, including the ‘D’ shaped hole and hinge area. If there is, soak the paddle in warm soapy water. A nonabrasive liquid cleanser or mild spray solution may be used. Allow to stand for 10-20 minutes. Use a wooden toothpick, thin wooden skewer or plastic cleaning brush to remove any bread residue from the crevices and hinge area. Failure to clean the hinge area may eventually result in the collapsible paddle not working effectively. Rinse thoroughly.
3. Let all surfaces dry thoroughly prior to inserting into the bread pan.
NOTE
We do not recommend washing the paddles in the dishwasher. To extend the life of the non-stick coating, always wash in warm soapy water. Do not use abrasive cleansers, metal scouring pads or metal utensils to clean the paddles as these items may damage the paddle surface.
1. Ensure the bread maker is turned OFF by pressing and holding the CANCEL button. The bread maker is OFF when the START | PAUSE button surround is no longer red. Remove the power plug from the power outlet.
2. Ensure the bread maker and all accessories are completely cool, clean and dry.
3. Place the bread pan and paddles into the interior baking chamber.
4. Ensure the lid is closed.
5. Store the appliance in an upright position standing level on its support legs. Do not store anything on top.
Published: Saturday, April 18, 2020 Viewed 80 times.
tepte.com: Your Questions and Answers Resource with a Wealth of General Knowledge
Are you seeking a one-stop destination for comprehensive knowledge and answers to your burning questions? Look no further than tepte.com! Our platform is your go-to source for a wide range of information, all conveniently presented in an easily accessible question and answer format.
At tepte.com, we pride ourselves on being your reliable knowledge hub. Whether you're curious about technology, science, history, or any other subject under the sun, our extensive General Knowledge (GK) knowledge base has you covered. We've made it our mission to provide you with in-depth insights and facts on an array of topics. Read more
