
Tepte.com


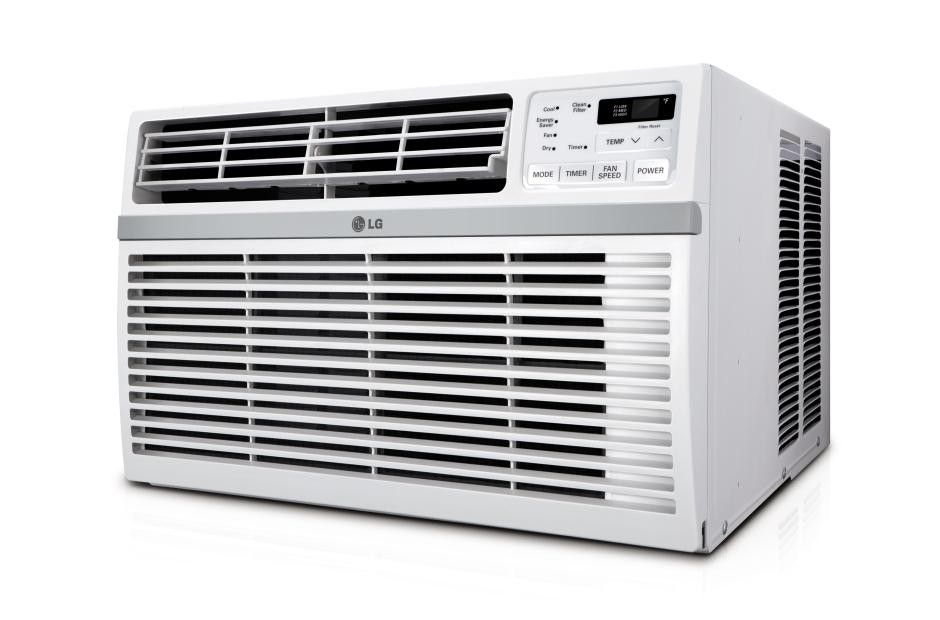
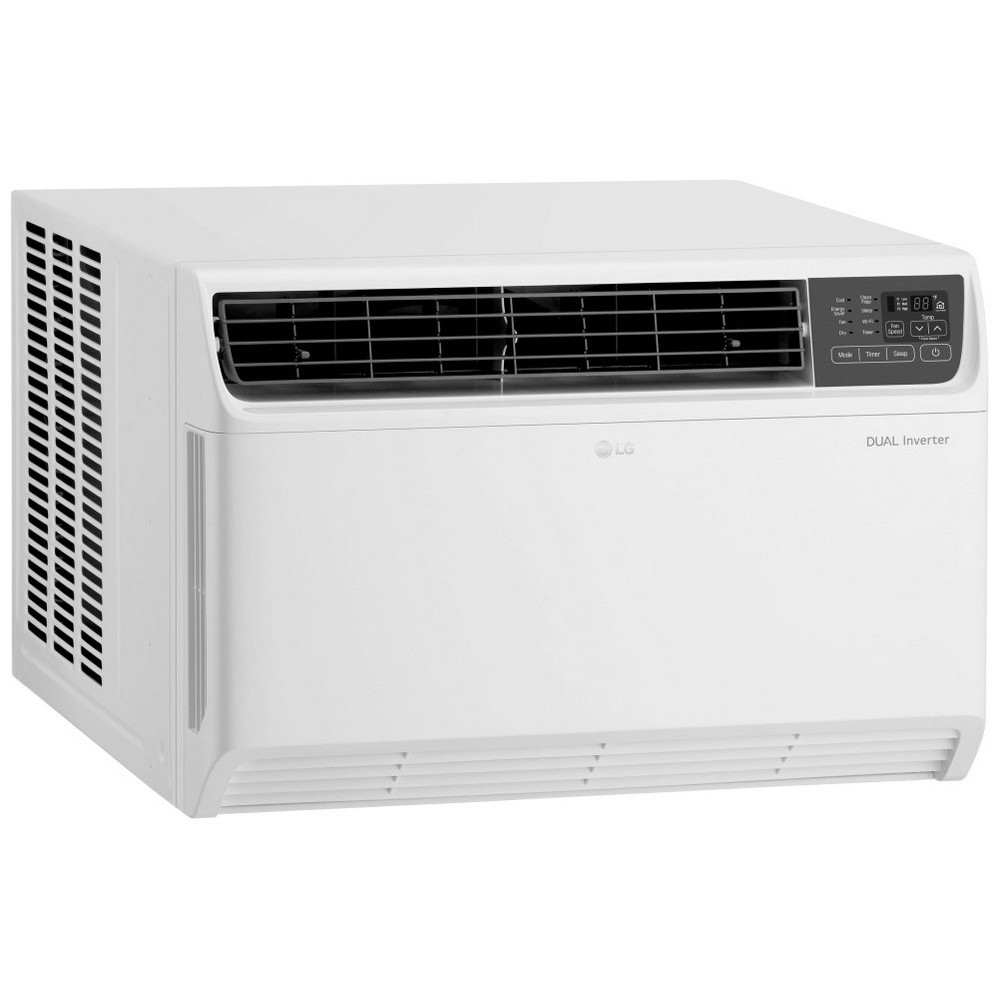
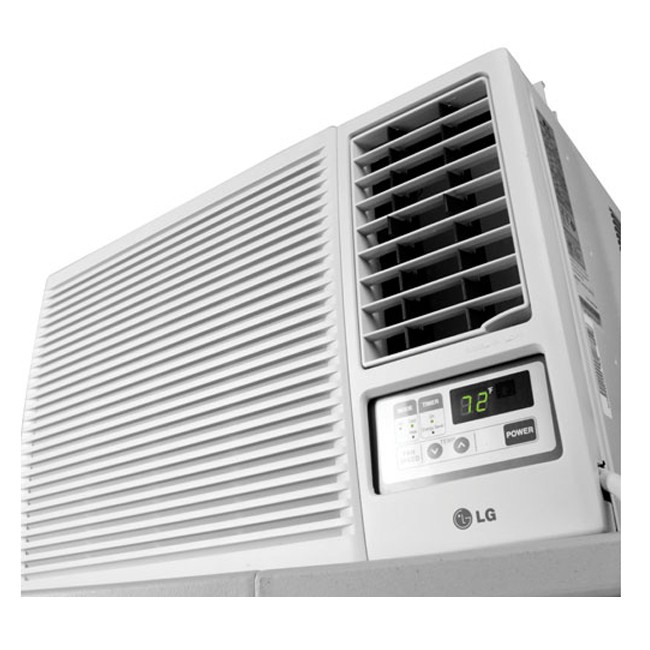
LG Room Air Conditioner Installation Operations
MODEL: LWHD1800HR, LWHD2400HR
How to Install the unit
1. To avoid vibration and noise, make sure the unit is installed securely and firmly.
2. Install the unit where the sunlight does not shine directly on the unit. If the unit receives direct sunlight, build an awning to shade the cabinet.
3. There should be no obstacle, like a fence, within 20" which might restrict heat radiation from the condenser.
4. To prevent reducing performance, install the unit so that louvers of the cabinet are not blocked.
5. Install the unit a little obliquely outward not to leak the condensed water into the room (about 1/2" or 1/4 bubble
with level).
6. Install the unit with its bottom portion 30~60" above the floor level.
7. Stuff the foam between the top of the unit and the wall to prevent air and insects from getting into the room.
8. The power cord must be connected to an independent circuit. The green wire must be grounded.
9. Connect the drain tube to the base pan hole in the rear side if you need to drain (consult a dealer). Plastic hose or equivalent may be connected to the drain tube.
How to use the Reversible Inlet grille
The grille is designed to clean the filter both upward and downward.
A. BEFORE ATTACHING THE FRONT GRILLE TO THE CABINET, IF YOU WANT TO PULL OUT THE FILTER
UPWARD;
1. Open the inlet grille slightly (a).
2. Turn inside out the front grille (a).
3. Disassemble the inlet grille from the front grille with separating the hinged part by inserting a straight type screw-driver tip (b).
4. Then, rotate the inlet grille 180 degrees and insert the hooks into bottom holes of the front grille.
5. Insert the filter and attach the front grille to the cabinet.
B. IF YOU WANT TO PULL OUT THE FILTER DOWNWARD; THE GRILLE IS ALREADY DESIGNED FOR THAT WAY.
Window Requirements
NOTICE All supporting parts should be secured to firm wood, masonry, or metal.
• WINDOW REQUIREMENTS
1. This unit is designed for installation in standard double hung windows with actual opening widths from 29" to 41".
The top and bottom window sashes must open sufficiently to allow a clear vertical opening of 18" from the bottom
of the upper sash to the window stool.
2. The stool offset (height between the stool and sill) must be less than 1 1/4".
Installation Kits Contents (some models including installation kit)
Suggested tool Requirements
SCREWDRIVER(+, -), RULER, KNIFE, HAMMER, PENCIL, LEVEL
• PREPARATION OF CHASSIS
1. Remove the screws which fasten the cabinet at both sides and at the back. Keep these two screws which fasten the cabinet at both sides for later use.
2. Slide the unit out from the cabinet by gripping the base pan handle and pulling forward while bracing the cabinet.
3. Cut the window sash seal to the proper length. Peel off the backing and attach the Foam-PE to the underside of the window sash.
4. Remove the backing from Foam-PE with 3 holes and attach it to the bottom of the Top retainer bar.
5. Attach the Top retainer bar onto the top of the cabinet with 3 screws (Type A).
6. Insert the Frame guides into the bottom of the cabinet.
7. Insert the Frame Curtain into the Top retainer bar and Frame guides.
8. Fasten the curtains to the unit with 10 screws (Type A) at both sides.
Cabinet Installation
1. Open the window. Mark a line on the center of the window stool between the side window stop moldings. Loosely attach the sill bracket to the support bracket using the carriage bolt and the lock nut.
2. Attach the sill bracket to the window sill using the screws (Type B). Carefully place the cabinet on the window stool and align the center mark on the bottom front with the center line marked window stool.
3. Using the M-screw and the lock nut, attach the support bracket to the cabinet track hole. Use the first track hole
after the sill bracket on the outer edge of the window sill. Tighten the carriage bolt and the lock nut. Be sure the
cabinet slants outward.
CAUTION: Do not drill a hole in the bottom pan. The unit is designed to operate with approximately 1/2" of water in bottom pan.
4. Pull the bottom window sash down behind the Top retainer bar until they meet.
1. Do not pull the window sash down so tightly that the movement of Frame curtain is restricted. Attach the cabinet to the window stool by driving the screws (Type B) through the cabinet into window stool.
2. The cabinet should be installed with a very slight tilt downward toward the outside.
5. Pull each Frame curtain fully to each window sash track, and pull the bottom window sash down behind the Top retainer bar until it meets.
6. Attach each Frame curtain the window sash by using screws (Type C).
7. Slide the unit into the cabinet.
CAUTION: For security purpose, reinstall screws (Type A) at cabinet's sides.
8. Cut the Foam-strip to the proper length and insert between the upper window sash and the lower window sash.
9. Attach the Window locking bracket with a screw (Type C).
10. Attach the front grille to the cabinet by inserting the tabs on the grille into the tabs on the front of the cabinet.
Push the grille in until it snaps into place.
11. Lift the inlet grille and secure it with a screw (Type A) through the front grille.
12. Window installation of room air conditioner is now completed.
LG Air Conditioner Cabinet Installation
cabinet installation
Published: Thursday, July 11, 2019 Viewed 118 times.
tepte.com: Your Questions and Answers Resource with a Wealth of General Knowledge
Are you seeking a one-stop destination for comprehensive knowledge and answers to your burning questions? Look no further than tepte.com! Our platform is your go-to source for a wide range of information, all conveniently presented in an easily accessible question and answer format.
At tepte.com, we pride ourselves on being your reliable knowledge hub. Whether you're curious about technology, science, history, or any other subject under the sun, our extensive General Knowledge (GK) knowledge base has you covered. We've made it our mission to provide you with in-depth insights and facts on an array of topics. Read more
