
Tepte.com


Looking for about carburetor adjustment tiller or learn about carburetor adjustment tiller or discuss about carburetor adjustment tiller or share about carburetor adjustment tiller or ask about carburetor adjustment tiller.
Proper carburetor adjustment is essential for maintaining the optimal performance of your tiller. A tiller's carburetor regulates the mixture of air and fuel that powers the engine. An improperly adjusted carburetor can lead to a range of issues such as poor performance, hard starting, or even engine damage. In this article, we will guide you through the process of carburetor adjustment to help you ensure that your tiller operates at its best.
The carburetor in a tiller has various adjustment screws that allow you to control the air-fuel mixture. These screws typically include the idle speed screw, idle mixture screw, and high-speed mixture screw. Each of these screws plays a crucial role in determining how the engine runs at different speed ranges.
Before you start with carburetor adjustment, it's important to identify the location of these screws on your tiller's carburetor. Check the user manual or manufacturer's website for specific details and diagrams related to your tiller's carburetor adjustment.
Step 1: Preparation
First, make sure your tiller is turned off and the engine is cool. Locate the carburetor and the adjustment screws.
Step 2: Idle Speed Adjustment
Begin by adjusting the idle speed screw. This screw controls how fast the engine idles. Start by turning the screw clockwise until it lightly seats, then rotate it counterclockwise 1 to 1.5 turns. This is a starting point for fine-tuning.
Step 3: Idle Mixture Adjustment
Next, adjust the idle mixture screw. Turn the screw slowly clockwise until it lightly seats, and then clockwise an additional 1/4 to 1/2 turn. This adjustment fine-tunes the air-fuel mixture at idle.
Step 4: High-Speed Mixture Adjustment
Lastly, adjust the high-speed mixture screw. This screw regulates the air-fuel mixture at higher engine speeds. Start by turning the screw clockwise until it lightly seats, then rotate it counterclockwise 1 to 1.5 turns as a general starting point.
Step 5: Testing and Fine-Tuning
With these adjustments complete, start the tiller and let it warm up. Check its performance at various throttle positions. If you encounter issues such as inconsistent idling, stalling, or lack of power, further adjustments may be necessary. Make small increments (1/8th turns) to the adjustment screws until you achieve the desired performance.
Properly adjusting the carburetor of your tiller is vital for its optimal performance. A well-adjusted carburetor ensures smooth operation, efficient fuel consumption, and reduced emissions. By following the step-by-step process outlined here, you can improve your tiller's performance and prolong its overall lifespan.
Remember to always consult your tiller's user manual for specific carburetor adjustment guidelines and recommendations, as different tiller models may have unique requirements.
Dealing with a Leaking Toilet Tank: A Comprehensive Guide A leaking toilet tank can be a persistent and bothersome issue that not only wastes water b
 108
108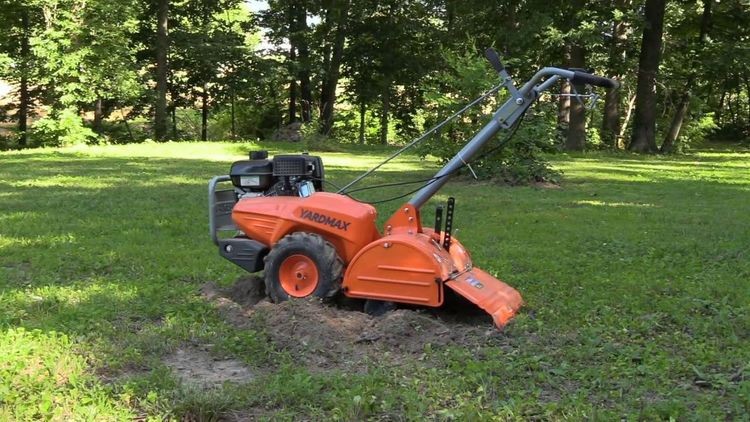
Yardmax Dual Rotating Rear Tine Tiller YT4565 TroubleshootingProblemEngine fails to start.Cause1. Spark plug wire is disconnected2. Out of fuel or sta
379Microsoft OLE DB Provider for ODBC Drivers
error '80004005'[MySQL][ODBC 8.0(w) Driver][mysqld-8.0.44]Can't find FULLTEXT index matching the column list
/ara.asp, line 492
