


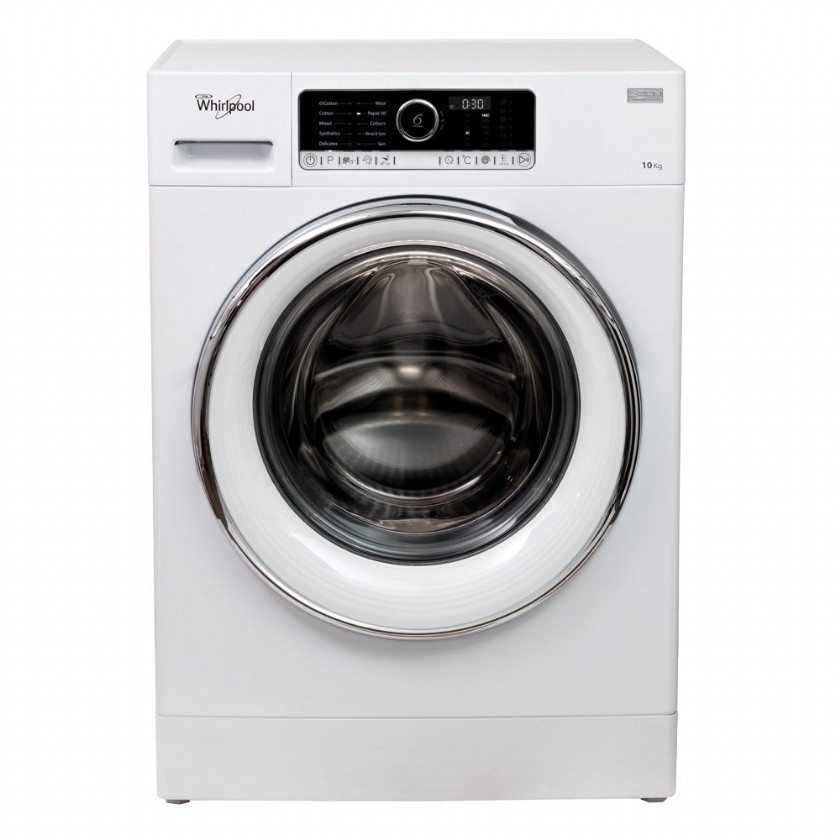
GE Washing Machine Agitator Removal
If you own a GE washing machine and are experiencing issues with your agitator, it might be necessary to remove and inspect it for any damages or obstructions. The agitator is an essential component in your washer that helps to move and agitate the clothes during the wash cycle. Over time, it can become loose, making your machine less effective in cleaning clothes. In this guide, we will walk you through the steps to remove the agitator from your GE washing machine.
Step 1: Safety First
Before starting any maintenance work on your washing machine, ensure that it is unplugged from the power source to avoid any accidents or injuries.
Step 2: Prepare the Area
Clear the space around the washing machine and have some towels handy to prevent water spillage during the process.
Step 3: Open the Lid and Remove Fabric Softener Dispenser
Open the lid of your washing machine and gently pull off the fabric softener dispenser (if applicable) from the agitator. Set it aside in a safe place.
Step 4: Remove the Agitator Cap
With a firm grip, locate the agitator cap at the top center of the agitator. Use your fingers or a flat-head screwdriver to press downwards and unthread the cap in a counterclockwise direction. Once loose, lift it up and set it aside.
Step 5: Remove the Agitator Bolt
Underneath the agitator cap, you will find a bolt securing the agitator to the washing machine's drive shaft. Use a socket wrench to loosen the bolt in a counterclockwise direction until it is fully removed. Place the bolt in a safe spot for reassembly later on.
Step 6: Lift and Remove the Agitator
With the bolt removed, you can now lift the agitator out of the washing machine. It may require some effort and a wiggling motion to loosen any residual grip. Once freed, carefully lift the agitator upwards and set it aside.
Step 7: Inspection and Maintenance
Now that you have successfully removed the agitator, take a closer look at it for any signs of damage or debris. Clean the agitator thoroughly and make any necessary repairs or replacements before reinstalling it.
Step 8: Reinstallation
To reinstall the agitator, simply reverse the steps taken during the removal process. Fit the agitator back onto the drive shaft, reattach the bolt, screw on the cap, and finally, reattach the fabric softener dispenser.
Remember to plug in your washing machine, and you're ready to give it a test run to see if the agitator is working properly.
By following these easy steps, you can efficiently remove the agitator from your GE washing machine, inspect it for any issues, and perform any necessary repairs. However, if you encounter any difficulties or are not confident in your abilities, it is always recommended to seek professional help to ensure the proper functioning of your washing machine.

 174
174