
Tepte.com


Looking for about self service kyocera battery installation or learn about self service kyocera battery installation or discuss about self service kyocera battery installation or share about self service kyocera battery installation or ask about self service kyocera battery installation.
In today's fast-paced world, technology plays a vital role in our daily lives. From smartphones to laptops, we rely on these devices for communication, work, and entertainment. One essential component that powers these devices is the battery. Without a functional battery, our devices simply won't operate.
If you own a Kyocera device, you may encounter situations where the battery needs to be replaced or upgraded. In such cases, the self-service Kyocera battery installation option is an efficient and convenient choice. This article will guide you through the steps of installing a battery in your Kyocera device.
Before diving into the battery installation process, ensure you have all the required tools. Typically, you will need a small Phillips-head screwdriver and possibly a pry tool to open the device's casing.
Prior to handling any internal components of your Kyocera device, it is crucial to power it off completely. This step will protect both you and the device from any potential damage. After powering off, disconnect any charging cables and remove the back panel, following the manufacturer's instructions.
Once you have access to the internal components, locate the battery. In most Kyocera devices, the battery is easily identifiable by its rectangular shape and connectors. Pay close attention to any cables or connectors attached to the battery.
Using the appropriate tools, carefully disconnect any cables or connectors attached to the old battery. Take note of the specific cable connections to ensure correct reattachment later. After all cables are detached, gently remove the old battery from its compartment.
Now it's time to insert the new battery. Ensure that the new battery is compatible with your Kyocera device model. Align the connectors on the new battery with the corresponding slots or connectors inside the device. Gently push the battery into its compartment until it is securely in place.
After inserting the new battery, carefully reattach the cables or connectors following the correct order as noted during the removal process. Make sure all connections are secure and properly aligned. Then, replace the back panel of the device by aligning it correctly and gently pressing until it snaps into place.
Once the battery is installed and the device is reassembled, power it on. Allow the device to fully boot up and take note of the battery level indicator. If the battery is functioning correctly, it should display an appropriate charge status. You can also perform a quick test by using the device as you normally would and monitoring its battery performance.
Congratulations! You have successfully installed a new battery in your Kyocera device using the self-service method. By following these steps, you can save time and money by avoiding professional assistance for battery replacements.
Remember, always refer to the manufacturer's instructions specific to your Kyocera device to ensure proper installation and avoid any potential damage. Enjoy the extended battery life and uninterrupted usage of your Kyocera device!
Do you own a Kyocera device and need to replace your battery? With self-service Kyocera battery installation, you can easily replace the battery in your device without having to visit a service center. This hassle-free option allows you to get your device up and running again quickly, saving you time and effort.
Self-service battery installation offers several benefits that make the process more convenient for users. Here are some reasons why you should consider opting for self-service:
Here is a step-by-step guide to help you replace the battery in your Kyocera device:
While self-service battery installation is relatively simple, there are a few things to keep in mind:
Self-service Kyocera battery installation empowers users to easily replace the battery in their devices, saving time and money. By following the provided instructions and considering important points, you can successfully install a new battery and get your Kyocera device back to its optimal performance.
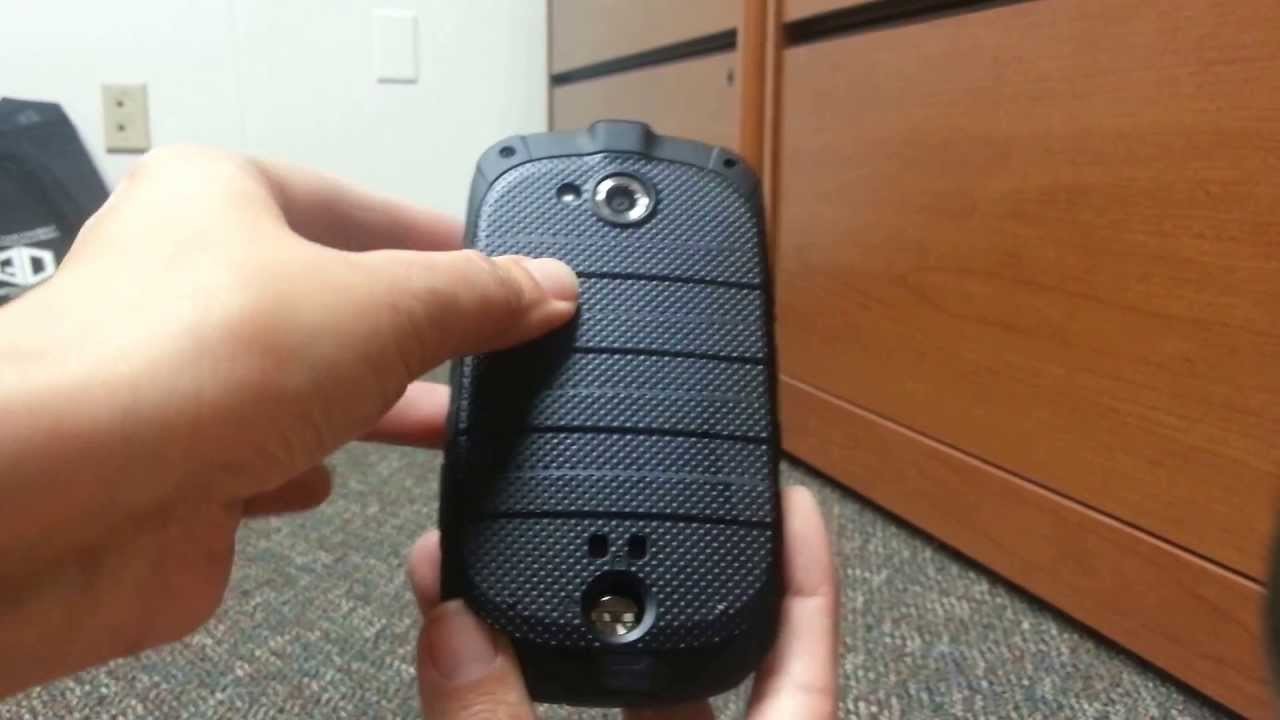
Changing Kyocera Battery At Home Introduction Kyocera phones are known for their durability and long battery life. However, even the best batteries
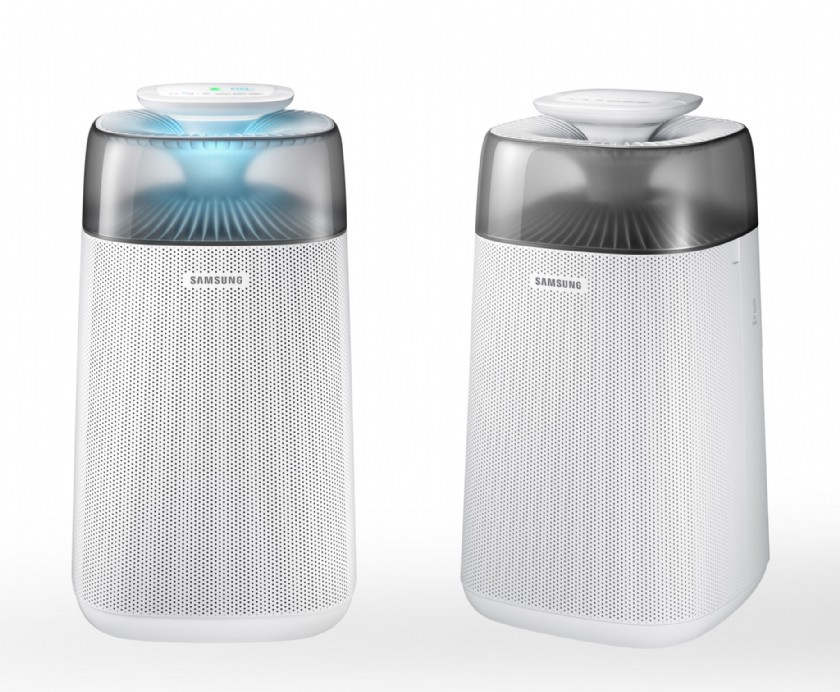
Samsung Air Purifier Cube Operation FeaturesIf you hear a chime sound when you connect the power cord, it means that the power is normally connected.T

Finding the Nearest U-Haul Location for Your Moving Needs When it comes to moving, whether it's across town or across the country, U-Haul has been a

National Weather Service issues flash flood warning for Lyon County The National Weather Service has issued a flash flood warning for Lyon County, Ka
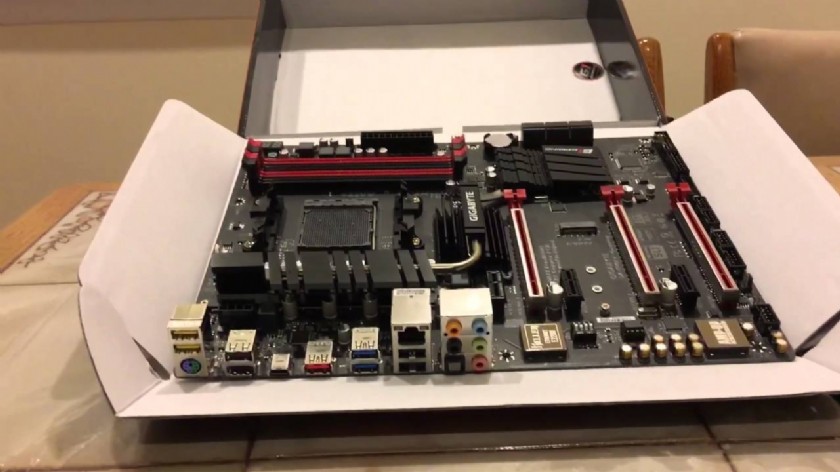
GIGABYTE GA-990FX-Gaming Motherboard Hardware InstallationThe motherboard contains numerous delicate electronic circuits and components which can beco
What are some recommended steps for resolving hydraulic issues in the McCormick XTX185?
Thursday, May 11, 2023 McCormick / XTX185 Answered: 2 201
201Pumpkin asked.
The Galaxy Watch 4 Classic boasts a powerful battery capacity for maximum usage. Find out what it is and experience prolonged functionality.
Sunday, January 7, 2024 Samsung / Galaxy Watch 4 Classic battery capacity Answered: 2 155Prince asked.
Learn effective ways to save battery on your Xiaomi Mi 11 Lite 5G. Maximize your device's battery life with these helpful tips and tricks.
Wednesday, December 20, 2023 Xiaomi / Xiaomi Mi 11 Lite 5G battery saving tips Answered: 3 208Jordan Taylor asked.
Discover the oil capacity and type for a Mercedes-Benz GLC 43 AMG. Get all the information you need to maintain your vehicle's performance.
Tuesday, January 2, 2024 Mercedes-Benz / Mercedes-Benz GLC 43 AMG oil capacity and type Answered: 2 208Quinn Taylor asked.
What is the oil capacity and type for BMW 520d xDrive?
Monday, April 10, 2023 BMW / 520 Answered: 3 241edwardnm asked.
Learn the recommended maintenance intervals for the Mercedes-AMG GLC 43 SUV and the tasks that should be performed at each service to keep your vehicle in top condition.
Thursday, March 7, 2024 / Mercedes-AMG GLC 43 SUV maintenance schedule Answered: 3 173Frenchy asked.
Custom-made UK pergolas are designed to withstand all weather conditions, ensuring durability and functionality for many years to come.
Saturday, February 17, 2024 / UK pergolas custom-made for different weather scen Answered: 1 146haydenwy asked.
Discover how UK pergolas effectively adjust to different surroundings, ensuring durability and functionality. Explore their versatility today.
Monday, January 1, 2024 Outdoor Furniture / UK pergolas designed for specific environmental fa Answered: 1 161Muscle asked.
Get solutions for Redmi Note 4G charging issues and troubleshoot common problems. Fix your charging problems with helpful tips and advice.
Wednesday, December 27, 2023 Xiaomi / Xiaomi Redmi Note 4G battery charging problems Answered: 3 244Charlie asked.
Discover a range of energy-saving features to reduce your carbon footprint and save on utility bills. Learn about smart thermostats, LED lighting, and more!
Saturday, December 16, 2023 Huawei / Energy-saving features Answered: 3 243Charlie asked.
This page has been viewed a total of 408 times
tepte.com: Your Questions and Answers Resource with a Wealth of General Knowledge
Are you seeking a one-stop destination for comprehensive knowledge and answers to your burning questions? Look no further than tepte.com! Our platform is your go-to source for a wide range of information, all conveniently presented in an easily accessible question and answer format.
At tepte.com, we pride ourselves on being your reliable knowledge hub. Whether you're curious about technology, science, history, or any other subject under the sun, our extensive General Knowledge (GK) knowledge base has you covered. We've made it our mission to provide you with in-depth insights and facts on an array of topics. Read more
