
Tepte.com


Looking for about subwoofer repair instructions or learn about subwoofer repair instructions or discuss about subwoofer repair instructions or share about subwoofer repair instructions or ask about subwoofer repair instructions.
If your subwoofer is not functioning properly or experiencing issues, it is possible to repair it yourself. By following these simple instructions, you can save time and money by avoiding a visit to the repair shop. Keep in mind that these instructions may vary slightly depending on the make and model of your subwoofer, so always refer to the manufacturer's manual if available.
The first step in repairing a subwoofer is to identify the problem accurately. Start by checking the power source and ensure it is properly connected. If the subwoofer is not turning on, try using a different power outlet or replacing the power cable.
If the power seems to be fine, the issue might be with the speaker itself. Check for any visible damage, such as tears or punctures in the cone or surround. If the subwoofer is producing distorted or no sound, this may indicate a problem with the voice coil or amplifier. In this case, proceed to the next step.
Using a screwdriver set, carefully remove the screws holding the subwoofer enclosure together. Be sure to keep track of the screws and their respective locations. Once the enclosure is open, inspect the internal components for any loose connections or damaged parts. If necessary, take pictures to reference later when reassembling.
To test the voice coil, set your multimeter to the resistance (ohms) setting. Touch the multimeter leads to the voice coil terminals on the subwoofer. If the reading is significantly different from the manufacturer's specifications, the voice coil might be damaged and needs replacement.
For testing the amplifier, connect your multimeter to the speaker terminals or amplifier outputs depending on the subwoofer wiring. Set the multimeter to the AC voltage setting and play audio through the subwoofer. If the multimeter does not display any voltage or the reading is inconsistent, the amplifier might be faulty and require repair or replacement.
If you have identified a damaged component, such as a torn cone or faulty voice coil, it is possible to repair it with appropriate materials and tools. However, if the damage is severe or you are unsure about the repair process, it is advisable to replace the component entirely with a new one, ensuring compatibility with your subwoofer's specifications.
Once the necessary repairs or replacements have been made, carefully reassemble the subwoofer enclosure by reversing the steps in Step 2. Ensure all parts are securely fastened and aligned correctly. Double-check all connections and wires to make sure nothing is loose.
After reassembling, connect the subwoofer to your audio system and test it thoroughly. Play different types of audio content at varying volumes to verify that the repairs were successful. If the subwoofer is functioning properly, congratulations on your successful repair!
If, despite your efforts, the subwoofer is still not working correctly, it might be best to consult a professional repair technician or contact the manufacturer for further assistance.
Remember, working with electronic components can be delicate and potentially dangerous if not handled with care. Always follow safety precautions when dealing with electricity and refer to professional help if you feel unsure about any step of the repair process.
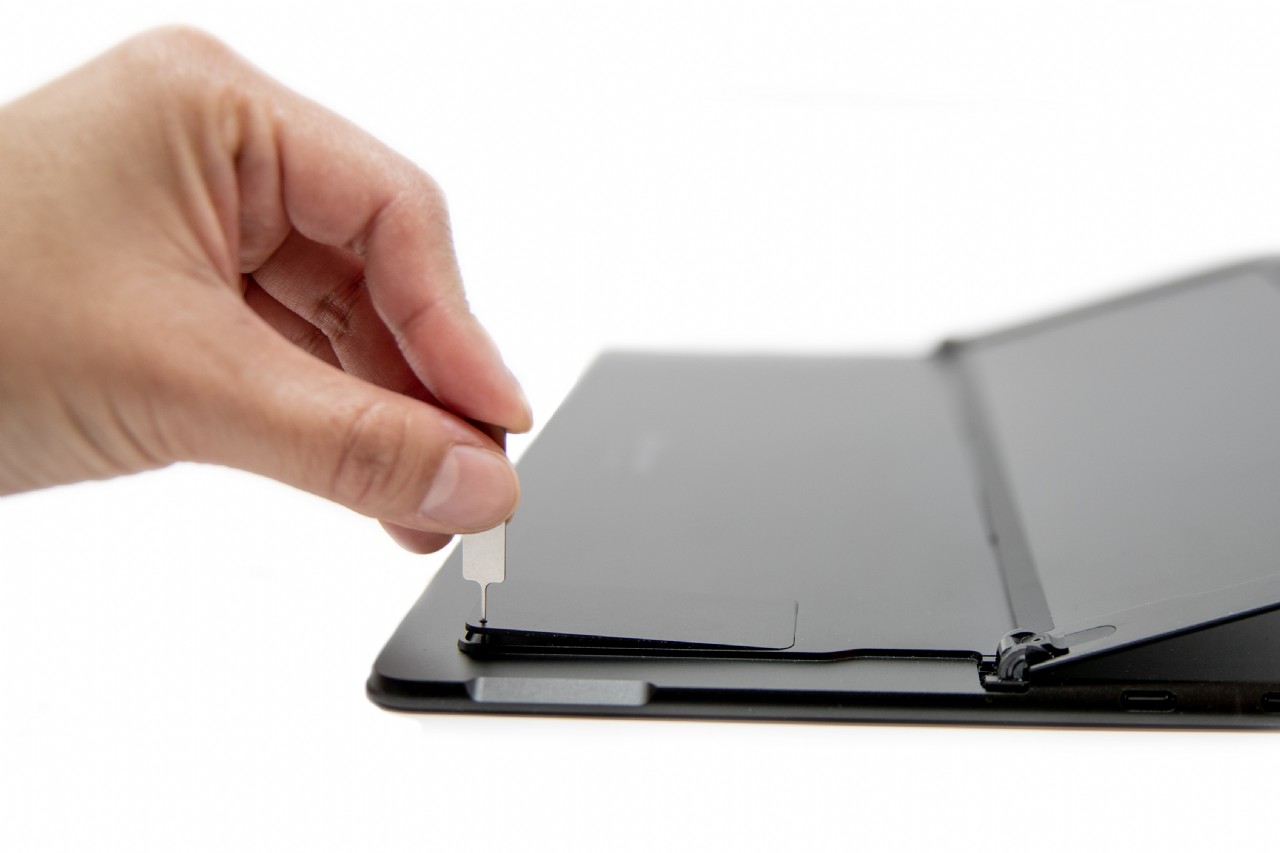
How to Insert a SIM Card in a Proline Laptop Proline laptops are a popular choice for businesses and students who need a reliable and affordable lapt
 136
136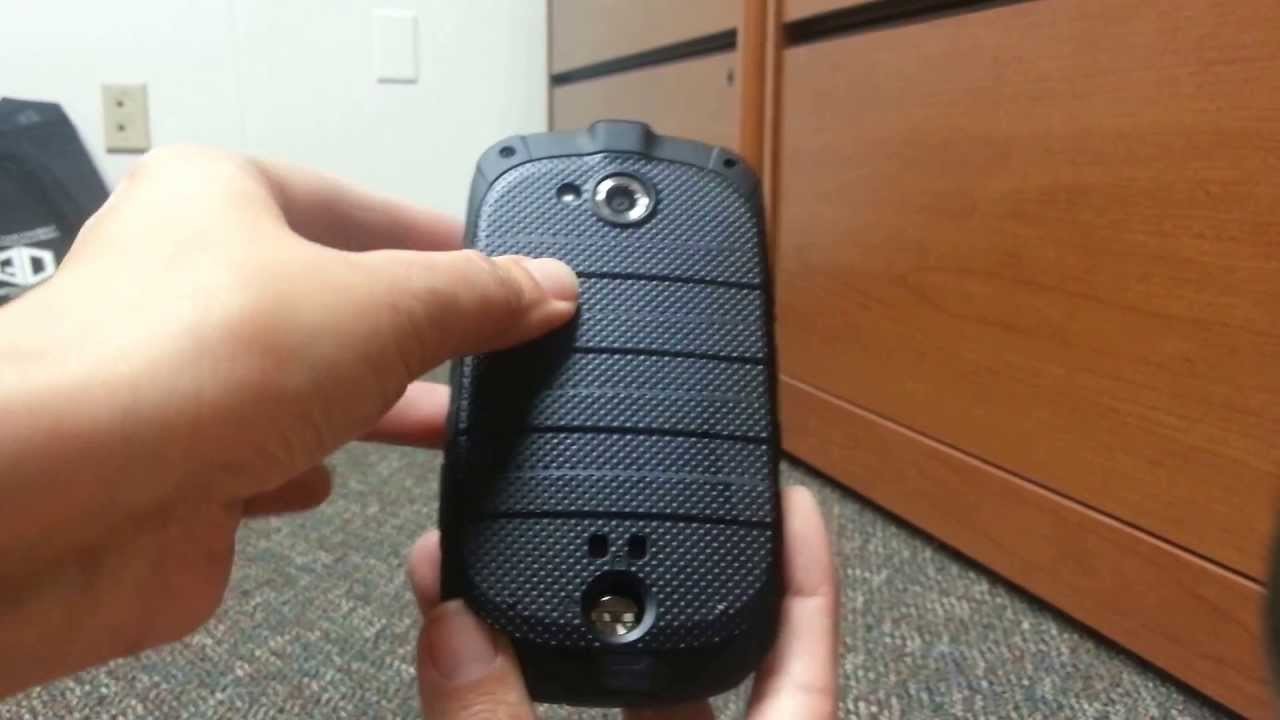
Changing Kyocera Battery At Home Introduction Kyocera phones are known for their durability and long battery life. However, even the best batteries
93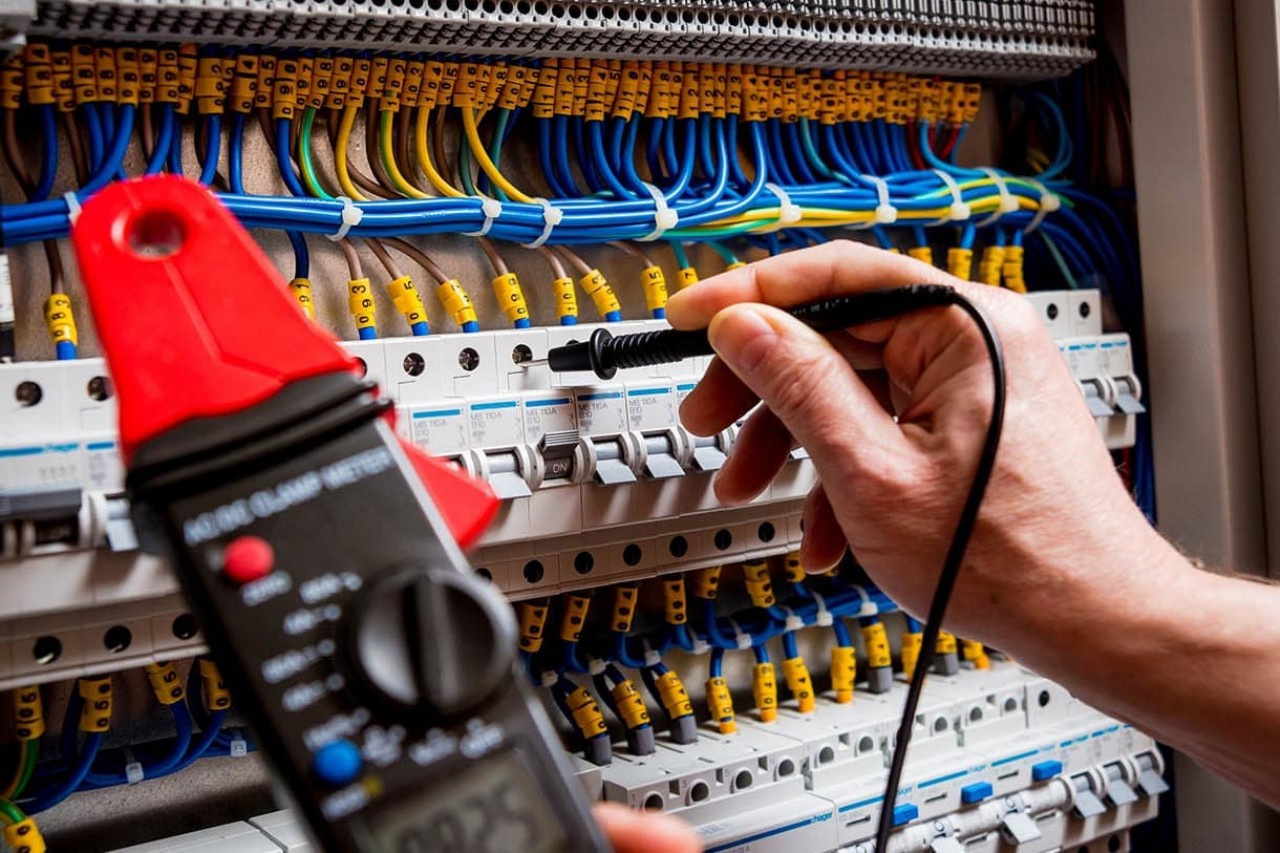
Common Electrical Ignition System Faults in Appliances The electrical ignition system in household appliances is a critical component responsible for
121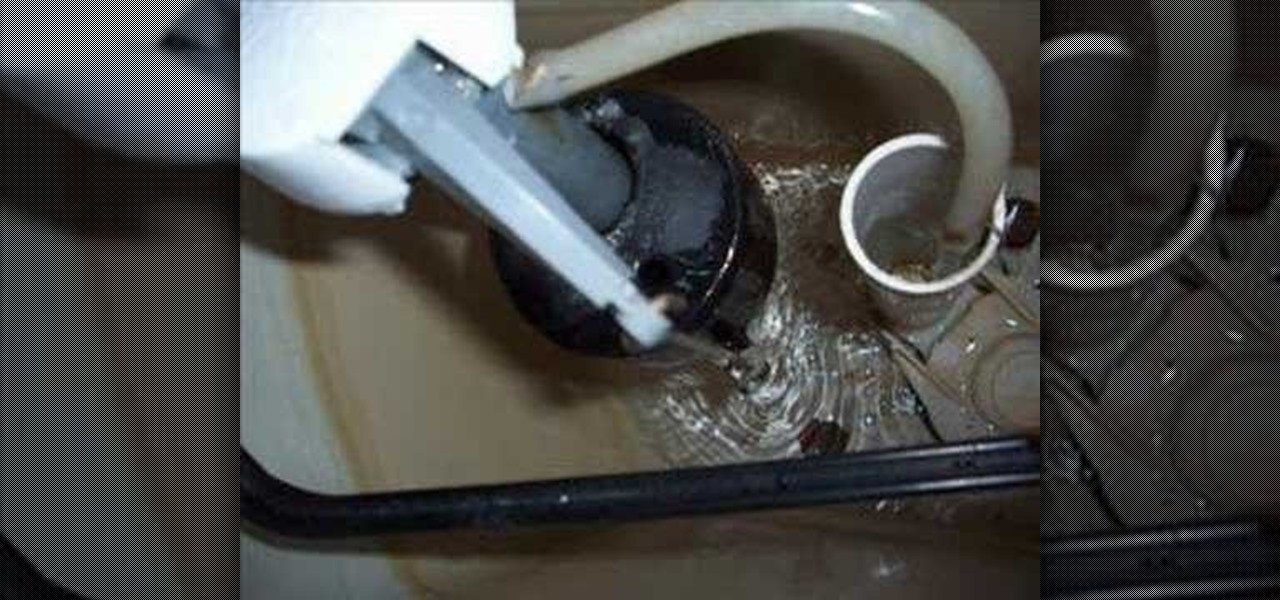
Dealing with a Leaking Toilet Tank: A Comprehensive Guide A leaking toilet tank can be a persistent and bothersome issue that not only wastes water b
105
Ford Car Diagnostic Trouble Code (DTC) Retrieval Modern Ford vehicles are equipped with sophisticated onboard diagnostic systems that monitor various
96
Audi A1 Oil Change Guide: Step-by-Step Instructions Changing the oil in your Audi A1 is a crucial part of routine maintenance that ensures your engin
117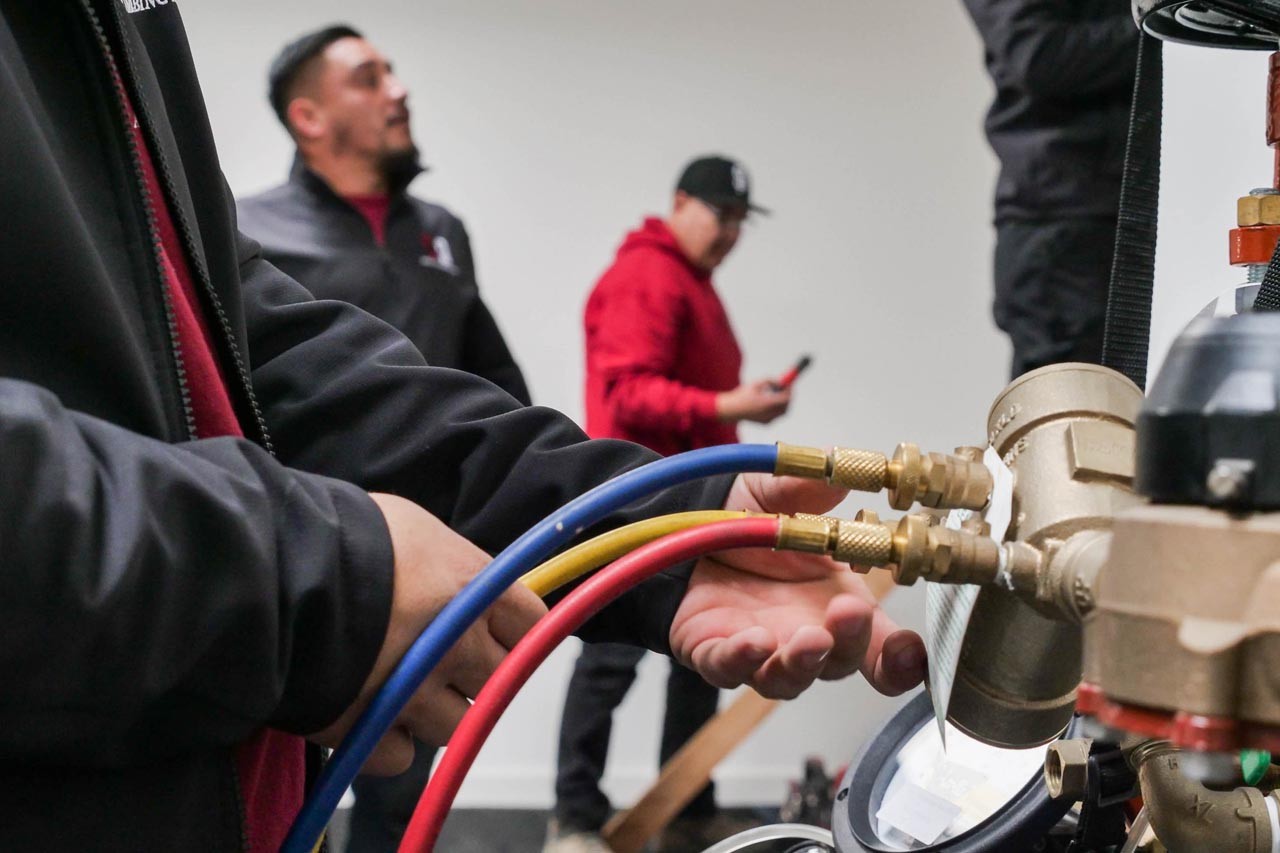
When it comes to plumbing repair in the vibrant city of San Francisco, you need a team of professionals who are more than just your typical plumbers.
117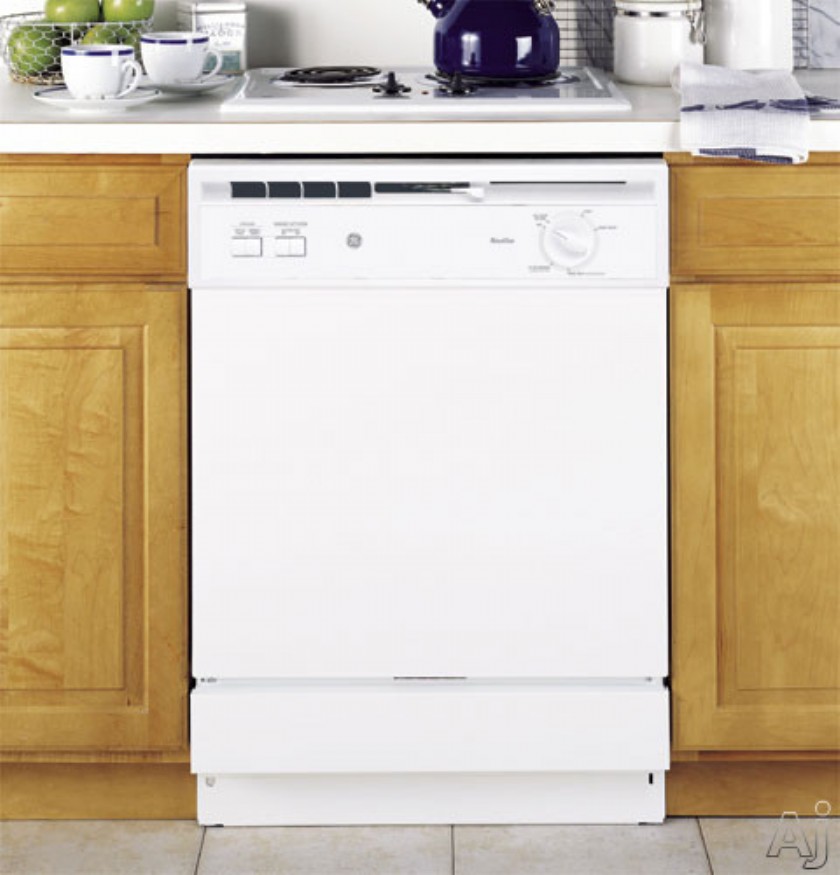
GE Nautilus Built-In Dishwasher Control Settings1.CyclesPOTS & PANS/HEAVY WASHFor heavily soiled dishes or cookware with dried-on or baked-on soil
174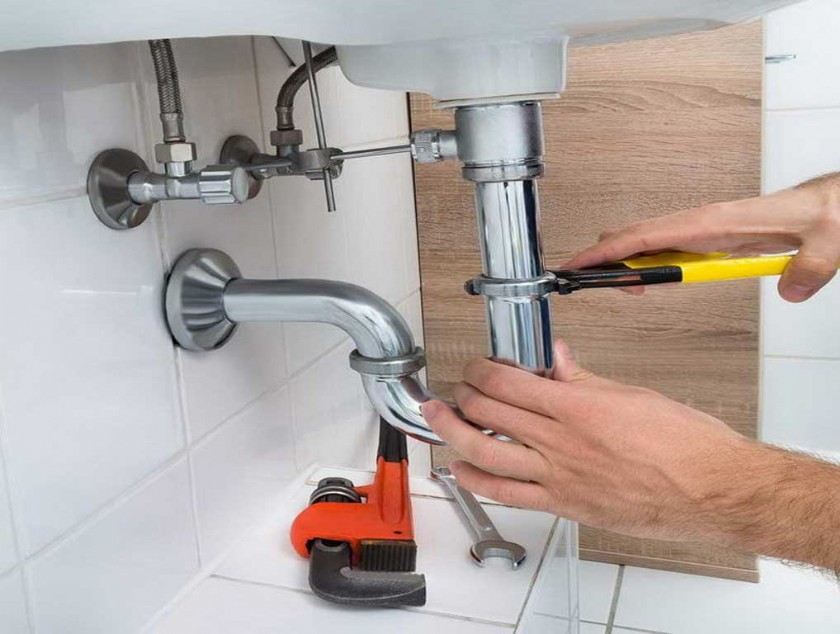
Plumbing SystemPlumbing is any system that conveys fluids for a wide range of applications. Plumbing uses pipes, valves, plumbing fixtures, tanks, and
80
Maintenance functions are often referred to asmaintenance, repair and overhaul(MRO), and MRO is also used formaintenance, repair and operations. Over
85
Our products are engineered to meet the highest standards of quality, functionality and design. We hope you thoroughly enjoy using your Braun Silk·épi
471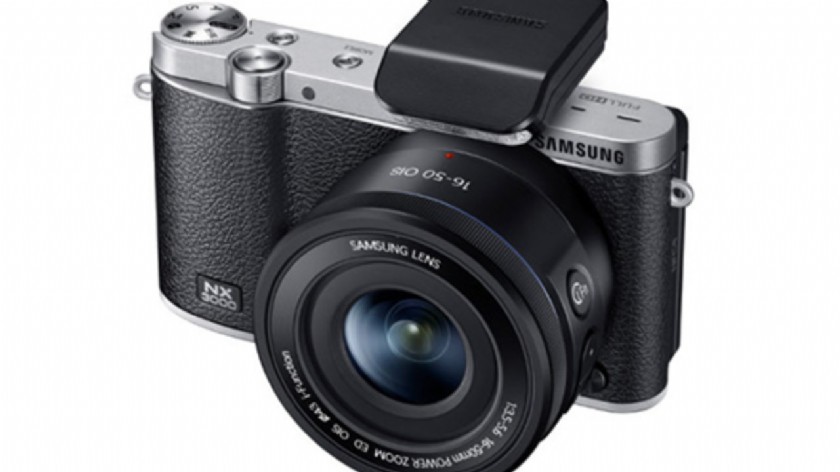
Samsung Digital Camera TroubleshootingThe subject’s eyes appear red.Red eye occurs when the subject's eyes reflect light from the camera flash.• Set t
178
Breville Microwave Oven TroubleshootingMicrowave oven interfering with radio, TV or similar equipment.• Clean door and sealing surface of the oven.• R
1175
Breville Bread Maker Care & Cleaning InstructionsEnsure the bread maker is turned OFF by pressing and holding the CANCEL button. The bread maker i
70
LG French Door Refrigerator Instructions For UseBefore useClean the refrigerator.Clean your refrigerator thoroughly and wipe off all dust that accumul
69
Lawn Mower Assembly InstructionsUNPACKING• Carefully remove the product and any accessories from the box. Make sure that all items listed in the packi
102
Disassembly- Before the following disassembly, power switch is set to off and disconnected the power cord. Mechanical parts1. Front grille1. Open the
125To open JBL Platinum computer speakers for repair, locate and remove the casing screws or fasteners, gently access the internal components, and perform the necessary repair or replacement.
Tuesday, March 21, 2023 JBL / Platinum computer speakers Answered: 4 242Blake asked.
Discover the audio output settings available on Samsung TVs, enabling you to enhance your audio experience and customize sound preferences.
Saturday, December 30, 2023 Samsung / Samsung TV audio output settings Answered: 3 187Avery Bennett asked.
Learn how to easily pair your Samsung TV with a soundbar for optimal audio experience. Follow our step-by-step guide for a seamless connection.
Sunday, January 7, 2024 Samsung / Pair Samsung TV with soundbar Answered: 3 169Cache asked.
Learn how to easily set up your Bluetooth soundbar with a Samsung TV in just a few simple steps for an enhanced audio experience.
Sunday, January 7, 2024 Samsung / Bluetooth soundbar setup with Samsung TV Answered: 1 173Reuben DE2011 asked.
Learn how to easily connect a wireless soundbar to your Samsung Smart TV and enhance your audio experience. Step-by-step instructions provided.
Tuesday, January 2, 2024 Samsung / Wireless soundbar connection to Samsung Smart TV Answered: 2 198Avery Peterson asked.
Learn how to enhance your viewing experience by pairing your Samsung TV with a compatible soundbar for immersive sound quality.
Wednesday, December 27, 2023 Samsung / Pair Samsung TV with soundbar Answered: 3 196gareth_21 asked.
Learn how to easily pair your soundbar with your Samsung TV in a few simple steps. Enhance your audio experience and enjoy immersive sound quality.
Tuesday, January 9, 2024 Samsung / How to pair a soundbar with Samsung TV Answered: 1 228InkStrokeInnovator asked.
Learn how to enhance your TV audio effortlessly by connecting your Samsung TV to a soundbar for a more immersive and high-quality sound experience.
Saturday, December 30, 2023 Samsung / Samsung TV audio output to soundbar Answered: 3 181Peyton Smith asked.
How to wire up Pioneer GM 2000?
Wednesday, March 8, 2023 Pioneer / GM 2000 Answered: 6 306Syed WI2003 asked.
Learn how to effortlessly connect your Samsung TV to a soundbar with our step-by-step guide. Enhance your audio experience in no time!
Sunday, January 7, 2024 Samsung / Samsung TV soundbar pairing instructions Answered: 1 197Babe asked.
This page has been viewed a total of 46 times
tepte.com: Your Questions and Answers Resource with a Wealth of General Knowledge
Are you seeking a one-stop destination for comprehensive knowledge and answers to your burning questions? Look no further than tepte.com! Our platform is your go-to source for a wide range of information, all conveniently presented in an easily accessible question and answer format.
At tepte.com, we pride ourselves on being your reliable knowledge hub. Whether you're curious about technology, science, history, or any other subject under the sun, our extensive General Knowledge (GK) knowledge base has you covered. We've made it our mission to provide you with in-depth insights and facts on an array of topics. Read more
